Tag: winter cooking

  • Homemade Egg Noodles for Cold Days (Our No-Water, No-Salt Comfort Staple)

    It’s properly cold outside—the kind of cold that makes the whole world feel a little quieter. The windows look frosty, the kitchen feels like the warmest place on earth, and suddenly all we want is soup. Not the fancy kind. The kind that steams up your glasses and makes you sigh on purpose.

    So we did what we always do when winter gets personal: we made noodles.

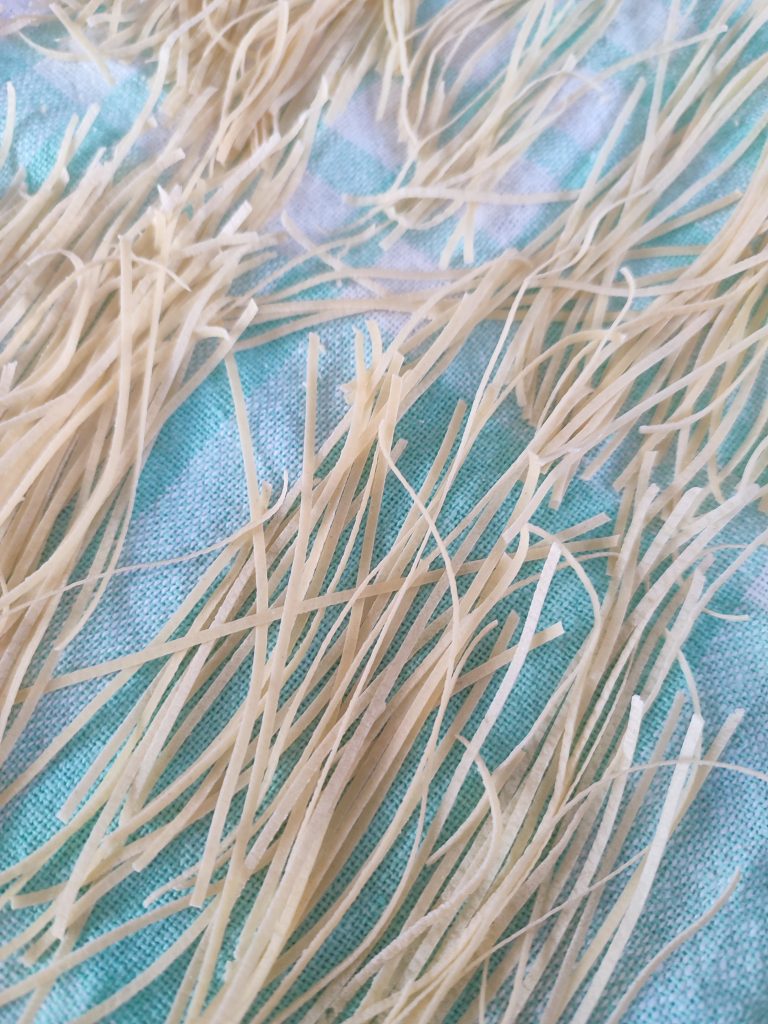
    This is one of our absolute favorites—thin, delicate cérnametélt (Hungarian-style fine egg noodles). We almost always cook it straight into soup, where it turns a simple broth into something that feels like home.

    And the best part? It’s just eggs and flour. No salt. No water. No shortcuts. Just a dough that takes its time—like we do on days like this.


    The Cozy Noodle We Always Make for Soup

    If you grew up with chicken soup and homemade noodles (or you just wish you had), this is your sign. These noodles are light but comforting, and because they dry well, you can make a big batch and keep it for weeks.

    We make ours the old-fashioned way:

    • mixed by hand
    • rested for at least an hour
    • rolled out with a machine
    • dried slowly for days in a cool room

    It’s not fast. But it’s deeply satisfying.


    Ingredients (Big Batch)

    • 10 eggs
    • 1 kg all-purpose flour (plus a little extra for dusting)

    That’s it.

    No salt. No water.
    The eggs do all the work here. (And in soup, you can season the broth properly—so the noodles stay gentle and neutral, like they’re meant to be.)


    How We Make Cérnametélt (Step-by-Step)

    1) Make the dough (by hand)

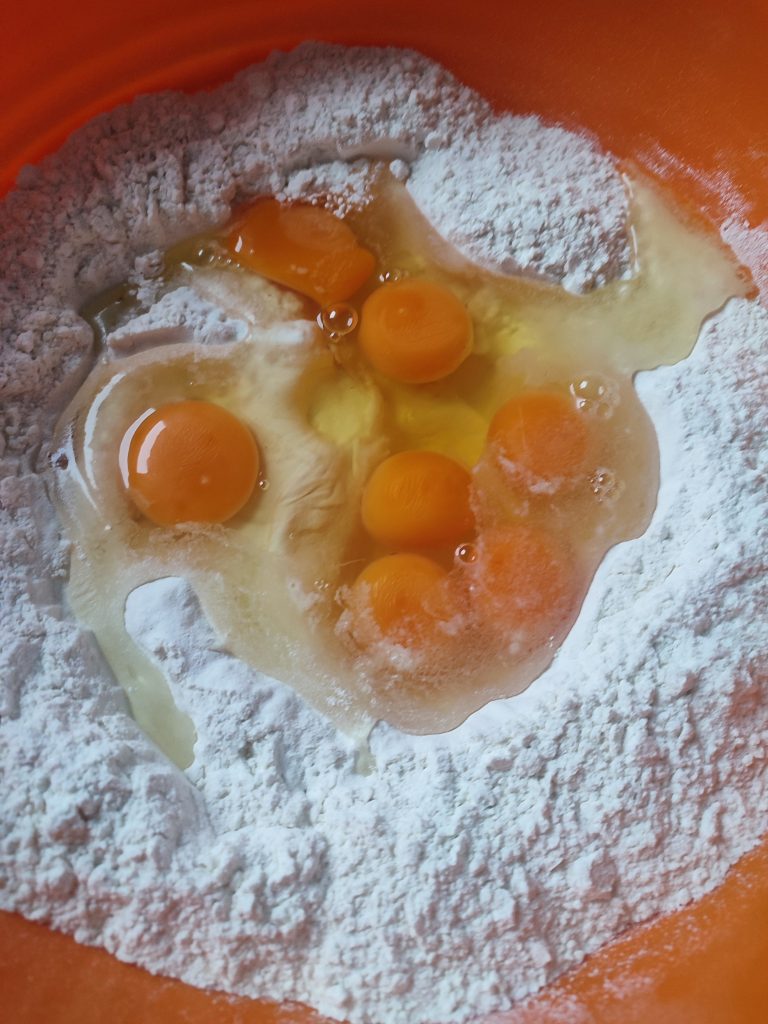
    We tip the flour onto the counter (or into a very large bowl), make a well, and crack in the eggs.

    Then we mix slowly at first—pulling flour in from the edges—until it turns into a shaggy, stubborn dough. And yes… it’s stubborn. At first it looks like it will never come together.

    But it does. You just keep kneading.

    I knead by hand until it’s firm, smooth, and elastic—and then a bit more. This dough should feel strong and dense, not soft.

    2) Rest (minimum 1 hour)

    Once the dough is kneaded, we cover it (bowl, cloth, wrap—whatever you like) and let it rest for at least an hour.

    This rest is non-negotiable.
    It relaxes the gluten and makes rolling so much easier later. It also feels like the dough is exhaling.

    3) Roll it out (with a machine)

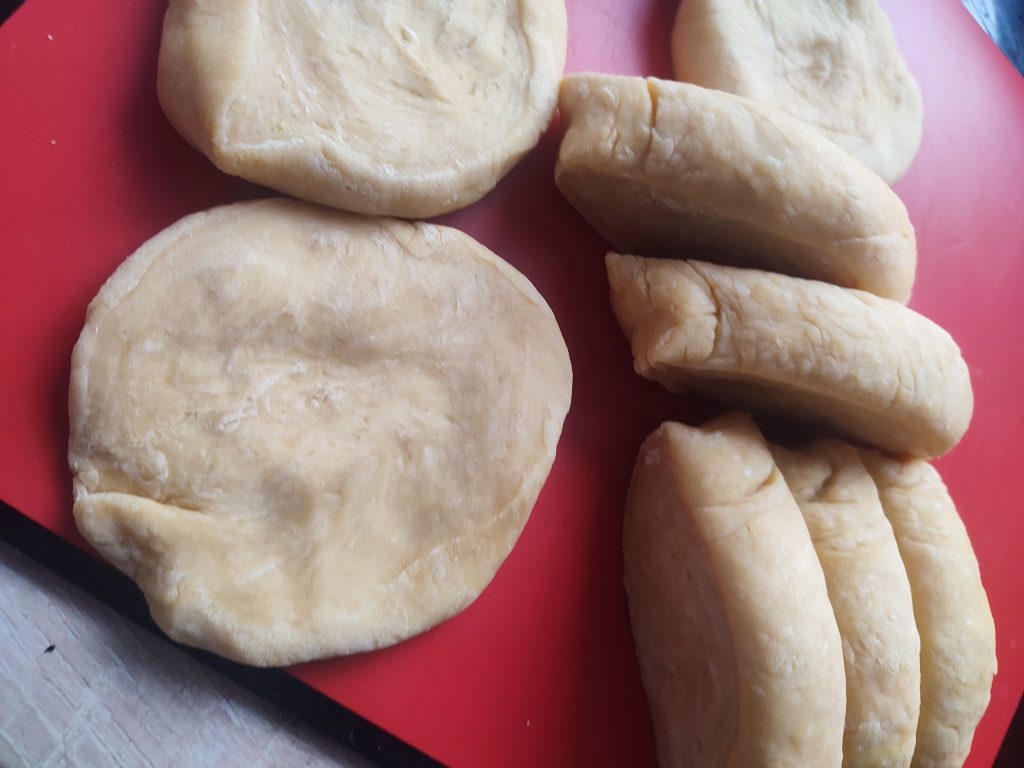
    After resting, we cut the dough into manageable pieces and run it through the pasta machine.

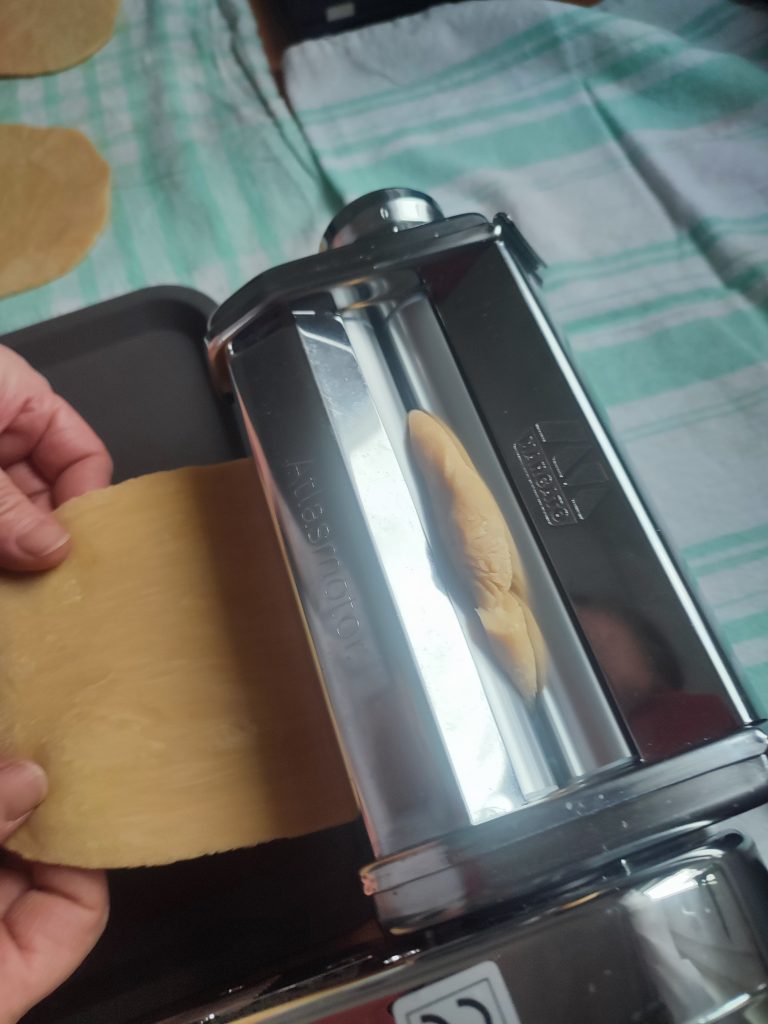
    We start thick, fold it a few times, then gradually go thinner. For cérnametélt we aim for thin sheets—delicate, but not paper-thin.

    4) Cut into fine noodles

    Then we cut it into thin strands (the “thread noodle” look). If your cutter does wider noodles, you can still use them—but the fine ones are magic in soup.

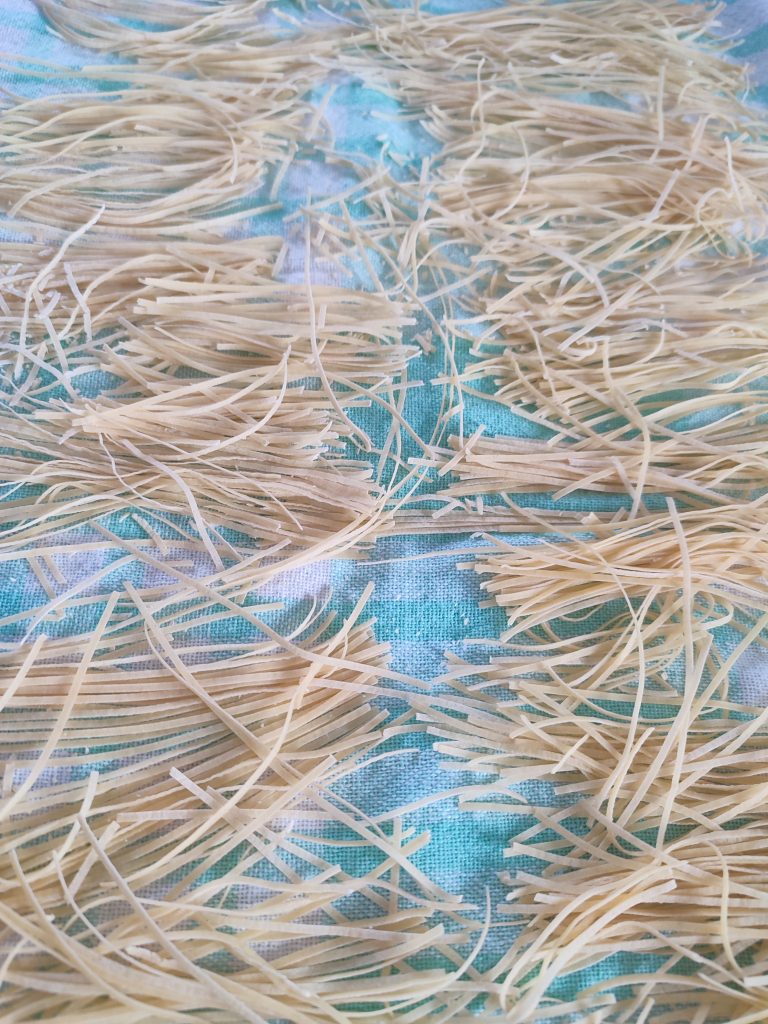
    5) Dry slowly (for days)

    Here’s our winter method: we dry the noodles in a cool room, because honestly, our house is basically a drying room in winter.

    We spread the noodles out (or drape them) and let them dry for several days before storing.

    This matters:

    • If you pack them too early, they can get slightly soft or clump.
    • Fully dried noodles store beautifully and stay separate.

    6) Store in a box

    Once they feel completely dry—crisp and breakable—we transfer them to a box or container and keep them in the pantry.


    How We Cook It (Straight Into Soup)

    Most of the time, we cook these noodles directly in simmering soup for just a few minutes—until tender. Because they’re egg-rich, they cook quickly.

    If you’re making broth, this is the moment where everything turns into comfort food.


    Notes From Our Kitchen

    • No salt in the dough: we prefer seasoning the soup instead. The noodles stay soft and gentle.
    • No water: eggs are enough—and it helps the noodles dry and store well.
    • Drying time depends on your room: if it’s warm or humid, it may take longer. In winter, it’s perfect.

    A Little Winter Ritual

    This is one of those quiet, old-fashioned kitchen rituals that makes the cold feel less annoying. You’re not just cooking—you’re stocking up on comfort. You’re making future-you very happy.

    And honestly? When the noodles are drying on the counter and the house smells like soup, winter doesn’t feel quite so rude.

    If you make this, I hope it becomes one of your cozy staples too.

  • My Additive-Free Homemade Seasoning Mix (Made from Summer Memories)

    My Additive-Free Homemade Seasoning Mix (Made from Summer Memories)

    Today I reached for my favorite seasoning blend in the kitchen… and the jar was empty.
    You know that moment—where your brain goes: “No problem!” but your soul goes: “Tragedy.” 😄

    So I did what I always do: I marched to the pantry like a tiny kitchen detective and pulled out my stash of home-dried herbs and vegetables. Because summer and autumn did not dry themselves for nothing.


    The idea: one jar = instant flavor

    This is my “sprinkle-on-everything” blend. It’s:

    • delicious
    • additive-free
    • and honestly… it tastes like my own garden + my own effort, which is the best seasoning of all.

    And the best part? I can mix a new batch anytime.


    What goes into my homemade seasoning blend

    It changes a little every time (because I use what I have), but my usual favorites are:

    🌿 Dried herbs

    • Marjoram
    • Oregano
    • Basil
    • Parsley

    🥕🧄 Dried vegetables (the secret upgrade)

    • Carrot
    • Beetroot
    • Horseradish
      …and honestly, sometimes “whatever else I dried and forgot about,” which keeps life exciting.


    How I mix it (the cozy, no-rules method)

    1. I scoop a bit of each dried ingredient into a bowl
    2. Mix it together
    3. Taste (carefully—horseradish is bold 😄)
    4. Pour into a clean jar
    5. Label it, because Future Me deserves nice things

    That’s it. Pantry magic.


    How we use it

    This blend is basically my kitchen shortcut:

    • roasted vegetables
    • soups and stews
    • scrambled eggs
    • potatoes
    • quick buttered noodles
    • anything that needs “one shake of flavor”

    Why I love it (besides the taste)

    Because it’s:

    • homemade
    • clean
    • zero-waste-ish
    • and it makes me feel like I’m winning at winter.

    Also: it’s incredibly satisfying to say, “Oh this? I made it.” 😌


    This year’s plan: even richer blends

    I’m definitely doing this again this year—and I want it to be even better.
    My goal is to dry more variety so the blend gets deeper, richer, and more interesting.

    If you have a favorite ingredient that belongs in a seasoning mix, tell me—I’m always collecting ideas like a dragon collects treasure.


    Your turn

    Do you make your own spice blends? If yes—what’s your secret ingredient? 👀✨

  • Our Sweet Paprika Cold-Smoked Sausage (Winter Pantry Batch)

    Outside, everything is buried under snow. Inside, our pantry had a few suspiciously empty corners whispering, “You call this winter preparedness?”

    So my husband and I decided it was time to do the most logical thing a couple can do in mid-winter: make sausage.

    We started with 5 kg of pork loin, added fatback (because flavor is not optional), stuffed it, and then cold-smoked it. Honestly? It felt like one of those cozy, old-school home rituals that makes winter feel less… wintery.

    By the time the garden wakes up—when the spring onions, radishes, and salad greens start showing off—we’ll be slicing our own sausage. Future-us is going to be very pleased.


    The setup: meat, fat, and good intentions

    This batch was simple, rustic, and deeply satisfying.

    We used:

    • Pork loin (5 kg)
    • Fatback (to keep everything juicy)
    • Natural casings (we bought ours from a local butcher shop)
    • Spices (sweet paprika is the star)
    • A sausage stuffer (more on that below)


    The sausage stuffer we used (and why we liked it)

    We used this one:

    HOTMALLL 6Lbs Heavy-Duty Stainless Steel Manual Sausage Stuffer (11 tubes, vertical hand-crank)
    👉 https://temu.to/k/p8vb6l9w70s

    It was on sale, arrived quickly, and made the process feel surprisingly smooth—especially once we found our rhythm: one person guiding the casing, the other cranking like they’re auditioning for a medieval bakery.

    What I appreciated most:

    • Sturdy stainless steel build (feels solid, not flimsy)
    • Vertical design (doesn’t take over the whole counter)
    • Multiple tubes (handy for different casing sizes)
    • Cleaning wasn’t a nightmare (a true love language)


    A few things we learned (so you don’t have to learn them the hard way)

    1) Don’t skip the fat.
    Pork loin is lean. Fatback makes the texture tender and the slices actually satisfying.

    2) Keep everything cold.
    Cold meat is easier to work with and stuffs better. Warm meat turns into chaos.

    3) Go slow at the start.
    Once the casing fills evenly and you find your pace, it becomes oddly calming.

    4) Make extra.
    Because you will “taste-test.” And then you’ll taste-test again. For quality control. Obviously.


    Sweet Paprika Cold-Smoked Sausage (Printable-Style Recipe)

    Note: Cold smoking does not cook sausage. For cold-smoked/dried sausage, curing salt and proper drying conditions matter—always follow trusted local food-safety guidance for your region and setup.

    Ingredients (per 1 kg / 1000 g meat + fat)

    • Cure #1 (pink curing salt): 2.5 g
    • Salt (non-iodized): 14 g
    • Sweet paprika: 10 g
    • Black pepper: 2 g
    • Garlic: 10 g fresh, minced (or 2 g garlic powder)
    • Marjoram (optional): 1 g
    • Caraway (optional): 0.5 g
    • Ice-cold water: 30–50 ml

    Casings: Natural casings from a local butcher.

    Method (short version)

    1. Chill meat + tools
    2. Grind (medium grind works great)
    3. Mix spices + cold water until tacky/sticky (“bind”)
    4. Rest 8–24 hours in the fridge (recommended)
    5. Stuff into casings, twist links
    6. Dry 12–24 hours until casings feel dry
    7. Cold smoke below 25°C / 77°F in gentle sessions
    8. Dry/age until firmer (time varies by thickness and environment)


    Cold smoking = winter happiness (quiet version)

    Hot-smoke days are loud and celebratory. Cold-smoke days are more… patient. You check on things, you wait, you pretend you’re very calm and not obsessed with whether the smoke is “just right.”

    And then you peek again five minutes later.

    Now we’ve got homemade sausage tucked away, ready for quick meals, soups, breakfasts, and those early spring days when the garden starts producing again.


    If you want to try sausage-making at home…

    If you’re curious and want a sturdy starter setup, here’s the stuffer we used:
    👉 https://temu.to/k/p8vb6l9w70s

    And if you already make sausage, tell me your favorite seasoning combo—because we’re absolutely doing this again.


    Affiliate note:
    This post may contain affiliate links. If you purchase through them, I may earn a small commission at no extra cost to you.

    Get Your free recipe here! https://littlehomerituals.com/wp-content/uploads/2026/01/sausage-recipe-card.pdf