Tag: seed starting

  • What You Can Start From Seed Indoors Right Now (A Cozy Late-Winter List)

    What You Can Start From Seed Indoors Right Now (A Cozy Late-Winter List)

    No greenhouse, no fancy tools—just a windowsill and a little hope.

    If you’re craving a tiny sign of spring—but it’s still very much winter outside—starting a few seeds indoors is the gentlest little mood-lift.

    No fancy setup required. A tray, a sunny window (or a small grow light), and a few minutes here and there. That’s it.

    First: a quick note on timing

    Seed-starting dates depend on your last frost date. As a simple rule:

    • Slow growers start 10–12 weeks before last frost
    • Most spring veggies start 6–8 weeks before last frost

    (Your seed packet is always the boss if it says something different.)


    What to start indoors now (the “slow growers”)

    These are the ones that take their sweet time—and starting them early makes a big difference:

    • Celery (yes, celery!) – slow to germinate, slow to grow, totally worth it
    • Leeks – easy and reliable indoors
    • Onions from seed (if you’re growing bulb onions)
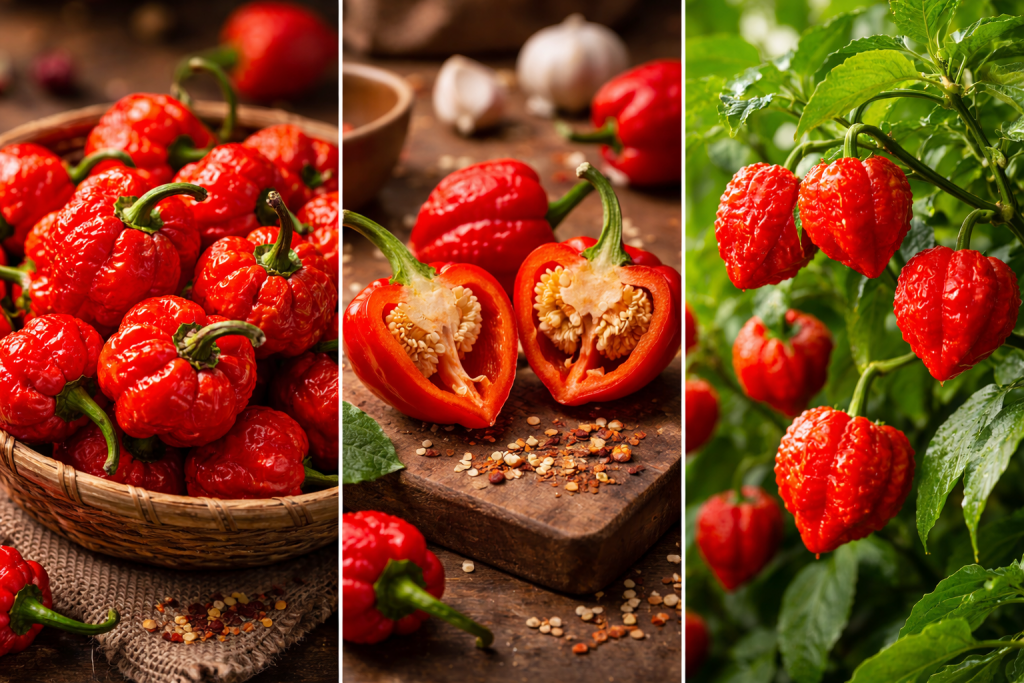
    • Peppers (sweet or hot) – love warmth, start early
    • Eggplant – similar to peppers, also slow

    Tiny tip: Warmth helps. A cozy spot + consistently moist soil = happier germination.


    What to start soon (if you want early spring harvests)

    These are faster and often fine with cooler conditions:

    • Brassicas: cabbage, broccoli, kale (great at 6–8 weeks pre-frost)
    • Lettuce + spinach (or just grow as baby greens)
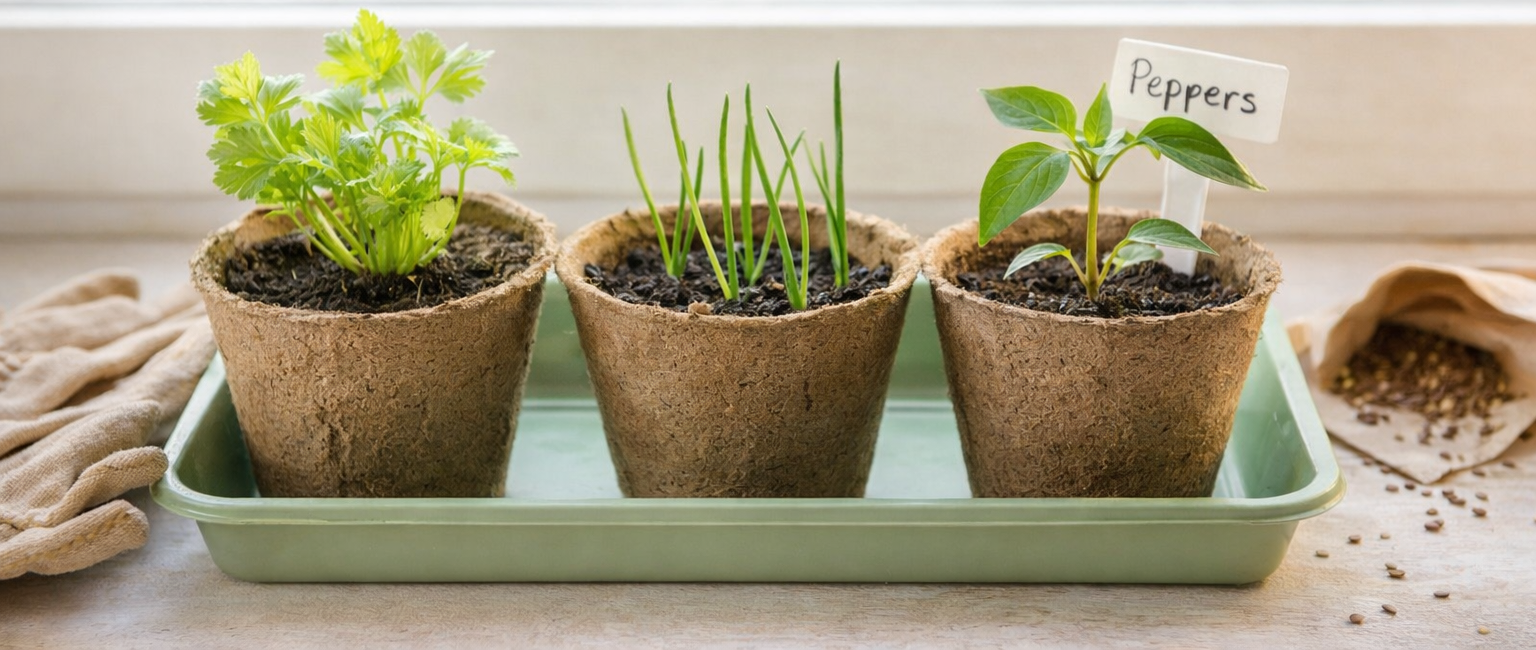
    • Herbs: parsley (slow), chives, dill, basil (later if your window is cool)

    The easiest “I just want something green” option

    If you want results quickly (and zero pressure), do microgreens:

    • radish
    • broccoli
    • pea shoots
    • sunflower shoots

    They’re fast, forgiving, and make your kitchen feel instantly more alive.


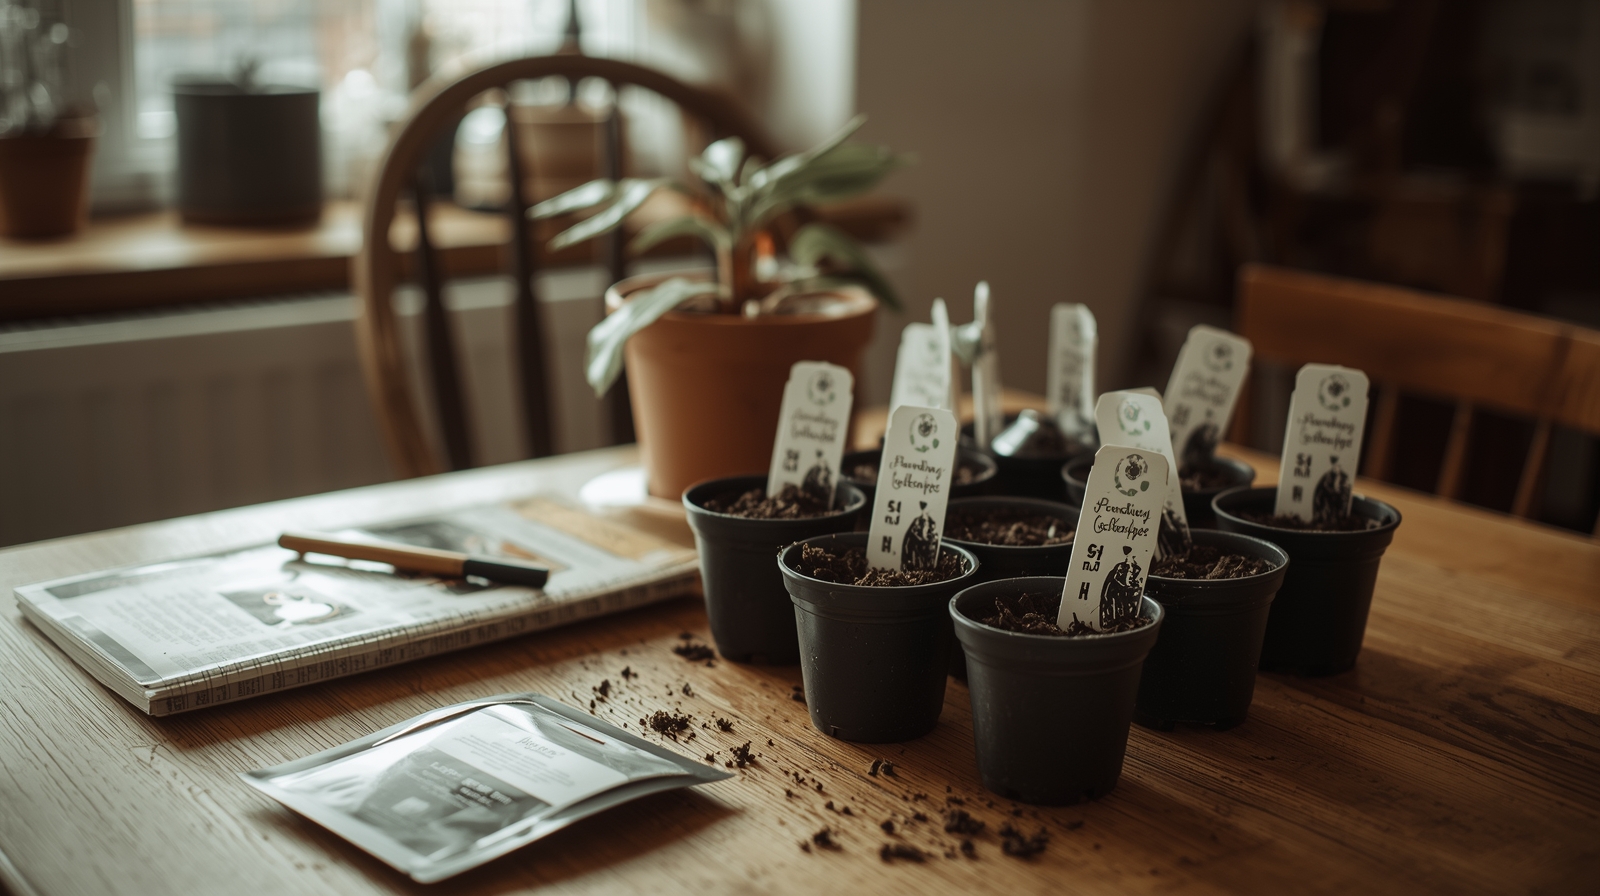
    A simple seed-starting checklist (no perfection required)

    • Use seed-starting mix (lighter than regular potting soil)
    • Keep soil evenly moist (not soaked)
    • Give seedlings bright light (a sunny window works; a small grow light helps a lot)
    • Label everything (future-you will thank you)
    • Once they have a few true leaves: pot up or thin gently

    A gentle reminder

    You don’t need to start all the seeds. Even one tray is enough to feel like spring is on the way.

    If you try one thing this week, let it be: celery or leeks (slow growers) or microgreens (fast win).

    Happy seed-starting 💛

  • New Year, New Chaos: Trinidad Moruga Scorpion Edition

    We took the Christmas decorations down… and the house felt weirdly empty.
    So naturally, we decided to start a superhot chili mission. Because that’s what stable people do in January. 🌶️

    This year’s spicy garden dare: Trinidad Moruga Scorpion — one of those peppers that caused a serious stir back in 2012, when it was measured at over 2 million Scoville units in testing.

    I ordered the seeds here: Trinidad Scorpion Moruga seeds.
    Disclosure: This post contains affiliate links. If you buy through them, we may earn a small commission at no extra cost to you.

    If you’ve grown a superhot before, please send tips (and emotional support).
    Next up: starting them indoors without turning the windowsill into a tiny sauna.

  • Chili Seed Starting 101 (For People Who Still Find Glitter in January)

    Chili Seed Starting 101 (For People Who Still Find Glitter in January)

    After we packed away the Christmas decorations, the house felt… suspiciously empty.
    So obviously, we did the only reasonable thing: we started chili season.

    If you’re also craving a little green life in the middle of winter, this is your sign.

    What we’re starting (and why chili is always first):
    Chili peppers are the perfect “tiny victory” plant:

    • they germinate like little drama queens (but it’s worth it)
    • they love warmth
    • and they turn into summer flavor bombs

    What you’ll need (simple version):

    • chili seeds
    • seed-starting mix (light + fluffy)
    • small pots or a seed tray
    • labels (future-you will thank you)
    • a warm spot (or heat mat if your home runs cool)

    Where we got our seeds:
    We ordered ours from chili-shop24 (DE) because they have great varieties and clear descriptions.
    👉 Disclosure: This post contains affiliate links. If you buy through them, we may earn a small commission at no extra cost to you.

    Our cozy step-by-step (no perfection required):

    1. Pre-moisten the soil (damp like a wrung-out sponge)
    2. Plant 2 seeds per cell (insurance policy)
    3. Label immediately (do not trust your memory)
    4. Keep warm + humid (cover helps)
    5. Wait… and then suddenly: tiny green miracles

    Real-life notes (aka what we mess up sometimes):

    • Too much water = sad seeds
    • Too cold = nothing happens for ages
    • Forgetting labels = mystery peppers (fun, but risky)

    What’s next:
    In the next post, we’ll share our first varieties + how we thin seedlings without feeling like a villain.

  • From Christmas Chaos to Seedling Season: The Cozy Reset After Taking the Tree Down

    From Christmas Chaos to Seedling Season: The Cozy Reset After Taking the Tree Down

    We packed away the ornaments, cleared the windowsills… and suddenly the house felt a little too quiet. Obviously the only logical solution is to start seedlings.

    We took the Christmas tree down.
    The ornaments went back into boxes. The ribbons got untangled (mostly). The windowsills are bare. And now the living room feels… weirdly empty.

    You know that moment when your home looks clean, but also a bit like it’s waiting for its personality to come back?

    Same.

    So we did what any reasonable, cozy-home humans would do: we started seedling season. Because if the holidays are over, we might as well grow something.

    The “after Christmas” reset (aka: where did all the sparkle go?)

    Before: twinkle lights, cozy corners, decorations everywhere.
    After: clean surfaces… and a suspicious amount of silence.

    The good news? Empty windowsills are basically a blank canvas. And seedlings are the cutest excuse to bring life back into the house.

    Why seedlings make the perfect January project

    • Tiny daily joy: you water, you check, you celebrate microscopic progress.
    • A healthier year, one tray at a time: more homegrown food = more wins.
    • It’s hopeful: even when it’s dark outside at 4 PM.
    • It turns “post-holiday blah” into “look! a sprout!”

    Our simple seed-starting setup (no perfection required)

    Here’s what we actually use—nothing fancy, just practical:

    1) A bright spot
    A windowsill works. If it’s gloomy, a small grow light helps a lot (and saves seedlings from becoming leggy noodles).

    2) Seed-starting mix + containers
    Seed-starting mix is lighter than regular soil. Containers can be seed trays, recycled cups, or anything with drainage holes.

    3) Labels (seriously, label them)
    You think you’ll remember. You won’t. Future-you deserves the truth.

    4) Gentle watering
    Moist, not swampy. If you’re unsure: fewer floods, more patience.

    5) Warmth and time
    Some seeds germinate fast, others like to build suspense. (Tomatoes are basically a Netflix series.)

    What we’re starting first this year

    We keep it realistic and fun:

    • tomatoes
    • peppers
    • basil and herbs
    • a few flowers for the “we need beauty” moments

    And yes, we mess up sometimes. Seeds don’t always cooperate. But we learn, laugh, and try again—that’s kind of the whole point.

    If this sounds like you…

    If you like learning by doing, appreciate honest tips, and don’t mind a bit of friendly humor along the way—you’re in the right place.

    Next up: I’ll share our exact seed-starting timeline and the “don’t do what we did” mistakes that saved us later.

    P.S. If there’s a garden or cozy-home topic you want us to cover, tell us—we’re always collecting ideas.